Showing posts with label techniques. Show all posts

Monday, May 4, 2020

OCC: Spring Card Camp Days 1-10


Hey,

Happy Monday!

I have spent a happy 20 days taking part in the Online Card Classes 'Spring Card Camp'.

It was fun and the theme was 2 from 1, so I ended up with a TON of cards LOL.. like that is a problem right now, I am Hallmark (I worked out that I have made approx 250-300 cards in the 7 weeks we have been home - WTAF).

I can't show everything in this post, so I'll show you some of the cards from days 1 to 10 and then I'll do a part two.

The main photo is the cards from Day 4, I didn't show the first x3 days as I am not a massive fan of the cards I made on those days.
Day 4 was taught by Julie Ebersole - who I LOVE. I couldn't quite do exactly what Julie had done, as at that time my Big Shot had broken and I was waiting on the new one! Thank god for a tiny die-cutter meaning I could still die-cut smaller elements.
I really love these cards, it was a great way to use the Recollections Cactus Love set and I combined it with x2 fun sentiments - left is by Flora & Fauna, right is Hero Arts.

Day 5 was fun and taught by Debby Hughes, another big craft crush of mine. It was a bit fiddly, but I am pleased with the end results.


Day 6 was great, I got a TON of cards out of this one. Kristina Werner supplied a great template, that I didn't use, as I don't love working with an exacto knife that much, So I made mine smaller and stuck to easy rectangle shapes to create these mini quilt cards.


Day 7 came out SO well. I loved the graduated stenciling and the foam mounted sentiments really pop, Laurie Willison was a new teacher for me and I really liked her.


Day 8 I learnt a new trick - how to create a shaker box - easily. I need to try this again with different colours, I wasn't happy with my choices, they don't flow together that well. I also fell in love with Cathy Zielske!


Day 9 - taught by Channin Pelletier - generated x6 cards and this was my fave of all the sets - the rainbow one, basically, you blend through a stencil and then spritz the stencil and get a second paler imprint. FUN. I also have never ever used that red/orange embossing powder and it is AMAZING!!


I had a lot of fun with the first 10 days and I got to learn some new things and revisit some older techniques that I haven't used in a while.

If you particularly want to know what I used to create a card, DM me, there are so many supplies here, that I only listed the main photo.

Cx

Monday, March 30, 2020

Alcohol Ink Lift...


Hey,

Happy Monday!

I hope you had a good weekend.

I have spent most of the time either cleaning my closet or playing with digital scrapbooking - new to me, but lots of fun and I am enjoying cherry-picking which photos I want to scrap. I am not into doing entire years - I just don't have the patience for that!

A while ago I was trying out the alcohol lift technique. My results were not too bad. The actual alcohol ink panel didn't come out so well as you can see, but the lift result was lovely and I made the pretty thank you card that you can see in the photo.

If you fancy giving this a go, I suggest watching this video - Jennifer McGuire does a much better job of explaining this than I ever could.

I am going to keep practicing and see if I can improve the results on the ink panel.

Cx

Tuesday, July 2, 2019

Alcohol Ink Techniques..


Hey,

A few weeks ago I did a fun Alcohol inks class taught by Cheiron and it really helped me to understand how to use them a bit better.

I made this little set of backgrounds and I played with the alcohol ink lift technique too.


They came out so well! So bright and varied - but heavy on the pink, as I love how bright that always is with these inks.

I made the four fun cards that you see in the main photo. The one bottom left is what you get after you do the alcohol ink technique and then stamp it off. It finally worked for me!

My supplies clockwise from top left -
30th Card - The Ink Road stamps, MFT Banner die, Misc number dies (gift from Cheiron)
HB Card - Tim Holtz stamps, Stampin' Up die
Thanks Card - Lawn Fawn scripty thanks die
Alpaca Card - Taylored Expressions stamps and dies, Hero Arts swirls background.

Jennifer Mcguire has a few cool videos on these techniques if you are interested.

Cx

Monday, March 5, 2018

Alcohol Ink Playtime...


Hey,

Happy Monday!

I hope you had a great weekend. I did! Hubby and I great fun on Friday night and I got to hang out with Lisette on Sunday (obvs we hit Macy's...).

I am a big fan of alcohol inks, you can make amazing backgrounds. I always felt that I hadn't mastered them and then recently they seem to make a bit of a come back and it has been fun to watch various crafters videos with tips and techniques.

I have just found Rubeena Naz - thanks to Cheiron and she is the latest in my very long list of craft crushes. She did a whole series of playing with Alcohol inks and I found her tips to be really useful.

I also FINALLY bought some Yupo - why did I wait so long?

As Yupo is seriously expensive....like SO expensive. Seriously. I used 3 sheets and created x3 backgrounds experimenting with colours. The middle sheet I did something a teeny bit different. Instead of letting it dry naturally, I patted it dry with a cloth, hence the muted more mottled look, which I really like.

Once they were dry I die-cut the same size panel out of each sheet, which still leaves me with x3 more backgrounds for future use.

I really wanted to show as much of the backgrounds as possible, so kept my embellishing to a minimum.

I like the purple card-bases, they show off the backgrounds really well. I cut these myself using Simon Says Stamp cardstock and this colour is Blue Violet and is my default coloured card base stock.

All three cards are a bit different - the first one just has Tim Holtz stickers, the middle one uses a bit of Vellum, so that the sentiment die is legible and the third one uses a Avery Elle heart die and some fun labels - made using this Dymo Labeler (which I ADORE).

Here is a better shot of the anniversary card, which is already on it's way to it's new owner -


I love it when I get to play with older things and learn new tricks.

Cx


Friday, June 16, 2017

Craft Classes..


Hey,

Happy Friday.

So last Sunday I did two classes with Cheiron.

I love doing classes, sadly none of the craftgang were there, but I coped ;)

The first class was all about Distress Oxide Ink techniques and how to use them. Because they are so different from regular Distress Inks I haven't loved them.. but the class really helped me and now I am itching to own more colours LOL.

I love all of the cards and we used a variety of techniques and products: water stamping, smooshing, spatters, distress glaze resist, stenciling, watercolouring..

So much fun and I got to meet some fun new peeps.

The second class was a mixed media class and we made this amazing tag -


Don't be fooled by my photo these new tags from Tim Holtz are 8x14inches - ridiculous!!

This was so much fun to make, again tons of techniques and I love it, it's so far out of my comfort zone. It's going to be a gift for someone...

Have a great weekend, I will be mainly at my desk and packing up my winter clothing as Summer has officially arrived here in NYC.

Cx

Tuesday, December 27, 2016

OCC: Watercolouring for Card Makers Day 2..part 1


Hey,

Hope you had a lovely Christmas..

I did and I am looking forward to a very relaxing week off.

Over the Thanksgiving break I FINALLY got to go and have a play with Day 2 of the Watercolouring class I bought forever ago over at OCC.

This part of Day 2 was all about using background stamps with watercolour and was taught by Debby Hughes.

This is already one of my fave techniques. Ink up the stamp, spritz with water, lay the paper on top..hope you get a decent impression!!

I made x4 backgrounds, using the same stamp (Hero Arts CG504), here is what I got..


The blue background got contaminated by the red ink, because I didn't clean my stamp properly, but I like it..

I decided to make x4 cards and make them a thank you set for a friend.

The first x2 use the entire background, as seen in the main card and this card -


Supplies for these 2 cards - Paper Source glitter heart stickers, Simon Says Stamp thanks on a line die, American Crafts glitter paper, EK Success mini heart punch, Tim Holtz Thank You word dies and glittery star and papers are from my stash.

The next x2 cards had a shape die-cut out of the background I created. I went for stars and hearts.


Supplies for these 2 cards - Lawn Fawn Scripty Thanks die, Sizzix Heart dies, xCut Star dies, Nuvo drops, Tim Holtz Distress Markers.

They were fun to make and it was good to start with the backgrounds giving me some food for thought.

Part 2 tomorrow...

Cx

Wednesday, May 18, 2016

Mixed Media Loft Art Retreat..


Hey,

So I had a super fun weekend, as JT was here for the weekend and we went to Providence to Jenn's last loft art retreat - she is moving, so I believe there will be Art Retreats, but no more Loft.

We had so much fun and it was great to spend QT together that is not work related :) We managed to lose JT's phone on the way to Providence, but all credit to JT, she just waved it off and got on with the weekend. Bill the super helpful Amtrak guy helped to make it all feel a bit better too, so a big shout out to Bill where ever you are, you are the hero of the weekend.

The collage, shows us getting inky, Mister Harley, our tags mid way through and some of the food that we ate - we ate and drank a lot, none of it was good for us and I am having to eat a LOT of vegetables to balance out the badness of the 3 days.

It was great to do the mixed media loft art retreat together because we were both a teeny bit out of our comfort zone and it was good to have my all time fave craft person with me, JT knows me so well, she just laughs when I get all weird...

JT used stencils for the first time ever and I managed not to freak out too much about my fingers being so dirty / inky..it was hard, but my new Ranger craft scrubby is going to help me deal with this moving forward.

It was a lot of fun, our table was a hoot. We learnt so many new techniques, which I'll be showing over the next couple of weeks, as I had a post class play at my desk on Monday - seeing if I had retained all that we learnt.

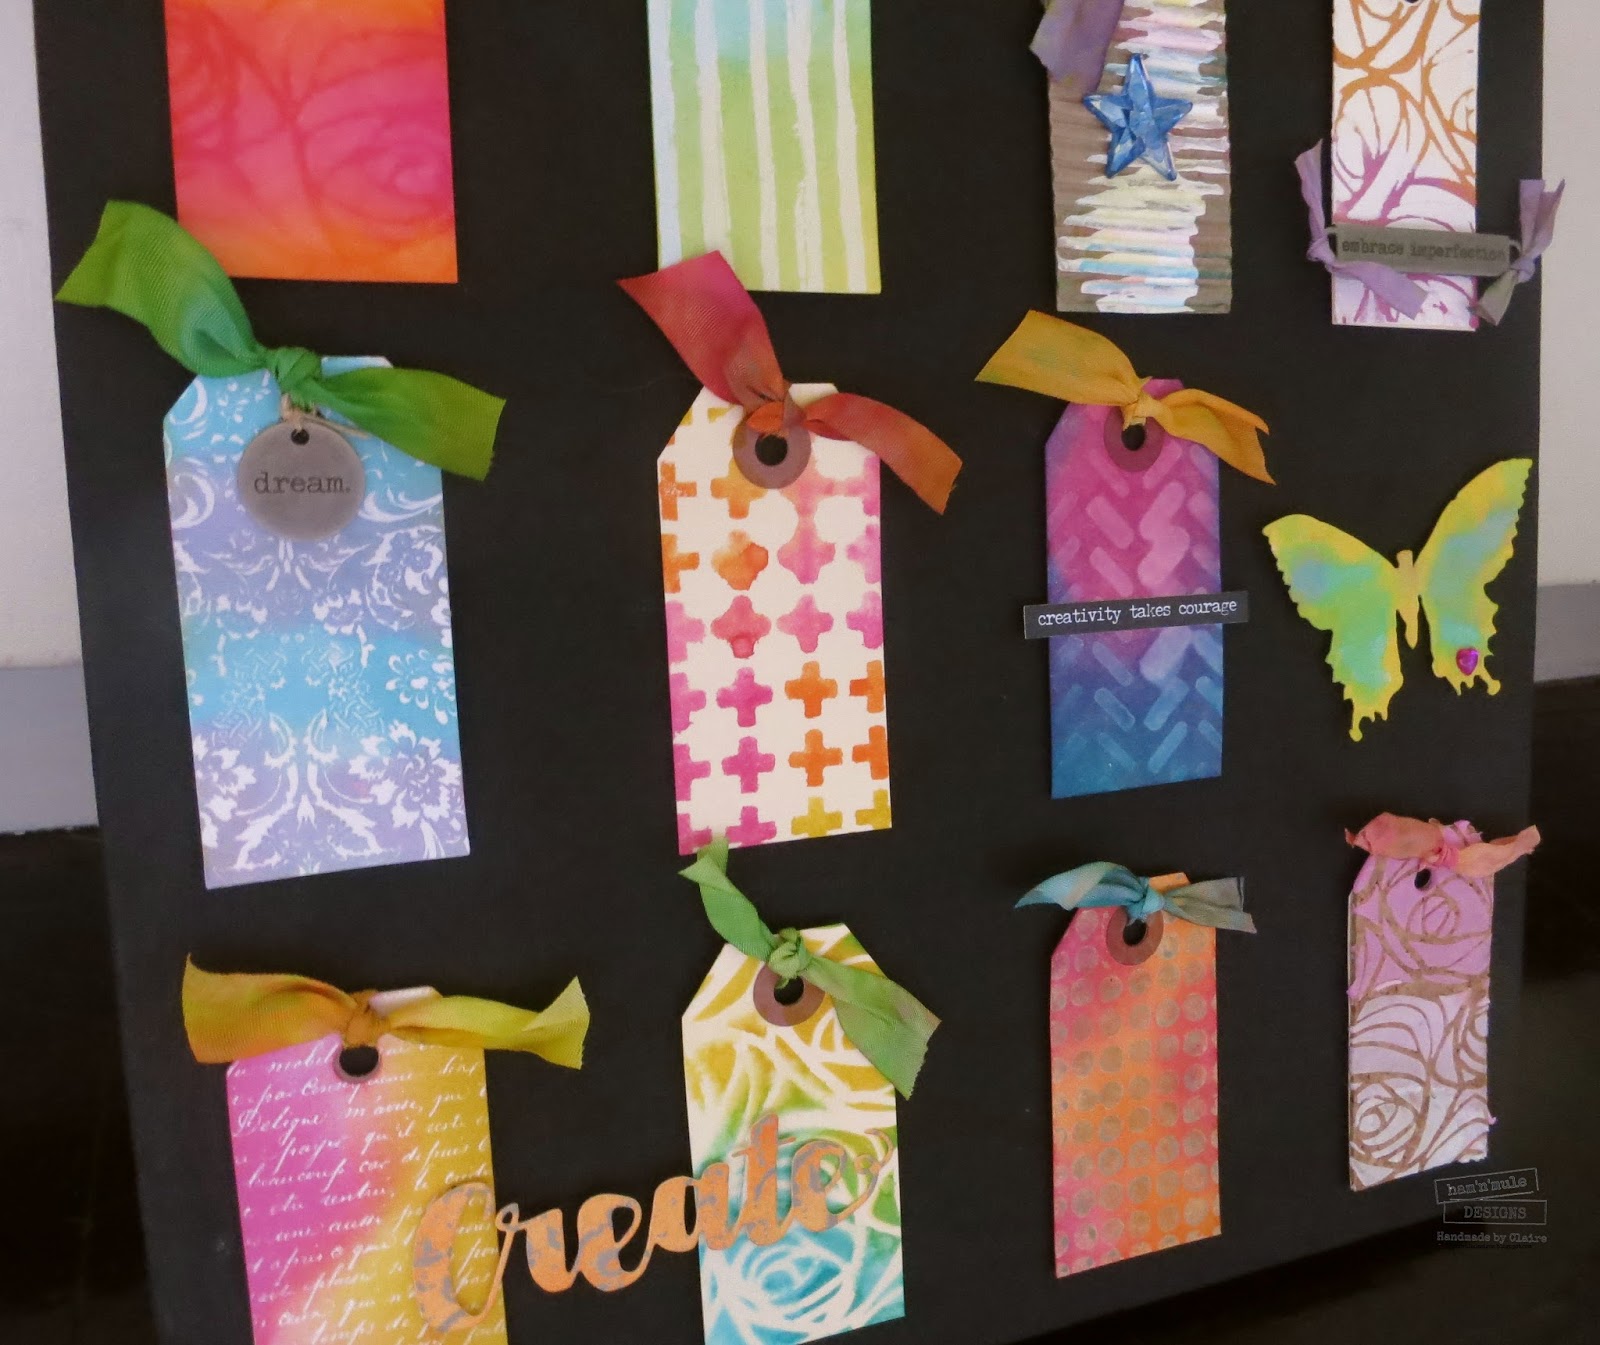
My fave new technique is the one where you create a blended distress ink panel, spritz a stamp with water and lay the tag onto it. It reacts and kind of bleaches it, like this -


I put my canvas together on Monday, because I didn't want it to get damaged on the train and I love how it looks -


I can't wait to hang it and visit JT and see her's hanging up too.

JT and I were lucky enough to win prizes in the raffle - I am very pleased with mine -


Fun times.

I just want to say to JT - thank you for coming all that way, you made me so very happy, hanging with you is always awesome and playdates are the most fun, especially when they involve Fried Pickles and Flower Monkey Sliders...

Love you man.

Cx

Sunday, May 1, 2016

Use those embellishments...


Hey,

Welcome to May!!

How on earth did that happen and why is it still cold!!

Before I left for London I had a play with a new Neat & Tangled stamp - Punchinella. 

I used the technique of inking the stamp, spritzing with water and then stamping, I've said it a hundred times, but as much as I love this technique it always makes me feel nervous..

I love the results of these two and die-cut them using a Memory Box rounded rectangle die.

The colours triggered a memory..so I went through my embellishment box, which sadly I do not visit as often as I should. I found the two embellishments you see on my cards today, I vaguely remembered them and thought they would work on these cards.

I can't resist buying embellishments on sale..is it just me or do we all do this?

The main card went to a work colleague who is leaving for pastures new. I used my new Stampin' Up washi tape punch and stamped one of the great Clearly Besotted mini messages sentiments (the best stamp set EVER).

The card below makes me smile. The embellishment is just SO big LOL.


Enjoy the rest of your weekend.

For you English that have tomorrow off, I am sticking my tongue out at you.

Cx

Thursday, November 5, 2015

Stencil playtime..

Hey,

So as you know I love stencils.

When my friend Denise was visiting she really wanted to have a play with stencils, so we broke them out and I ended up with 3 stencilled backgrounds.

I cut them down and ended up with 4 card sized pieces.

The main card uses distress stains and because they were quite juicy, I got the great blended effect that you can see. To finish off this card, I die cut the sentiment and heat embossed the happy.

The next 2 cards use the same stencilled background - a recent bargain find at The InkpadNYC - again using distress stains. I used a birthday stamp that the lovely Darnell sent me for my birthday and the Happy dies are by Wplus9.


My final card uses a fave Simon Says Stamp stencil that I have had for ages and this time I used distress inks in 3 colours to create a vignette of colour. I am a bit sad that my happy doesn't pop as much as I wanted it to..I might need to attempt a fix here..


I love playing with Stencils and the Online Card Class I did really helped me to use them in more varied ways.

Don't forget that you still have time to play along with the latest Moving Along With The Times challenge - Leaves and Trees. Challenge ends on Weds 11th Nov.

Cx

Monday, August 17, 2015

Friends with techniques...


 Hey,

So I loved class at the Inkpad a few weeks ago, I really wanted to try out some of the techniques Cheiron taught us and I also felt that the Gelli plate needed an outing.

I also wanted to use my new Mama Elephant stamps and die (bought at the Inkpad), to make a few cards for some of my friends.

Here are the four cards that I made -


They were a lot of fun to make.

Card 1 - Technique used - ink onto a stencil (Stampin' Up), spritz with water, flip over onto your paper - EEK!! 

Card 2 - I used a gelli plate here - first time - love the result. Stencil is by 

Card 3 - Technique used - apply stain through a stencil (Hero Arts) and then spritz with water and dry.

Card 4 - Technique used - apply white distress paint through a stencil (Simon says stamp), using a dabber. When dry blend ink over the paint for a resist.

I used a lot of  things, as you can probably tell... Ranger distress inks, stains and paints. Bling by Simon says stamp and papermania. Card blanks by American Crafts. MFT stitched oval and rectangle dies.

So much fun to make and a really great first outing for my new Mama Elephant stamps and die.

Cx


Wednesday, April 8, 2015

WOYWW #305....Trying Bokeh..

Hey,

Happy WOYWW to you all..

I am at home today, as I broke 2 toes and a metatarsal bone...long story, lets just say its painful and I feel foolish.

Join in the WOYWW fun, by popping over to Julia's blog Stamping Ground and desk nose with the rest of us.

My desk is unable to be photographed, as I cannot find my memory card..doh..

So instead I am showing you the Bokeh technique that I tried at the weekend. It seems to be everywhere. I found a couple of great tutorials on YouTube (my enabler) and rolled up my sleeves ready to get messy..

The one on the left is a bit subtle, I think my background colours were too light. The one on the right is way better, but I will need more practice.

I made 4 cards, 2 from each sheet.

From the left sheet I made these 2 cards -

Bokeh Background, Watercoloured butterfly stamp, SSS thank you stamp

Bokeh background, SSS celebrate you stamp

From the right sheet -

Bokeh background, Lawn Fawn Die, SSS age stamp
Bokeh Background, SSS happy birthday stamp
Super simple to make and use my stash and the backgrounds in different ways. It was fun to learn a new technique, that uses what I already have.

All the stamps except the Thank You are from the Simon Says Stamp April cardkit.

Cx


Wednesday, March 4, 2015

Pinterest CASE...watercolour squares..


Hey,

I saw this great card and tutorial when I was cruising some blogs a few weeks ago -


It's by Julie Ebersole - via the Ellen Hutson classroom blog - which I love!

I am very pleased with my version and I added a name so it could go to one of my work colleagues.

In the tutorial Julie shows you how to dab some of the paint off of the squares, muting the colours slightly. I didn't dab all the squares, as I wanted more variance in the colours.

I love a Pinterest CASE..doing them helps me push my boundaries.

Cx